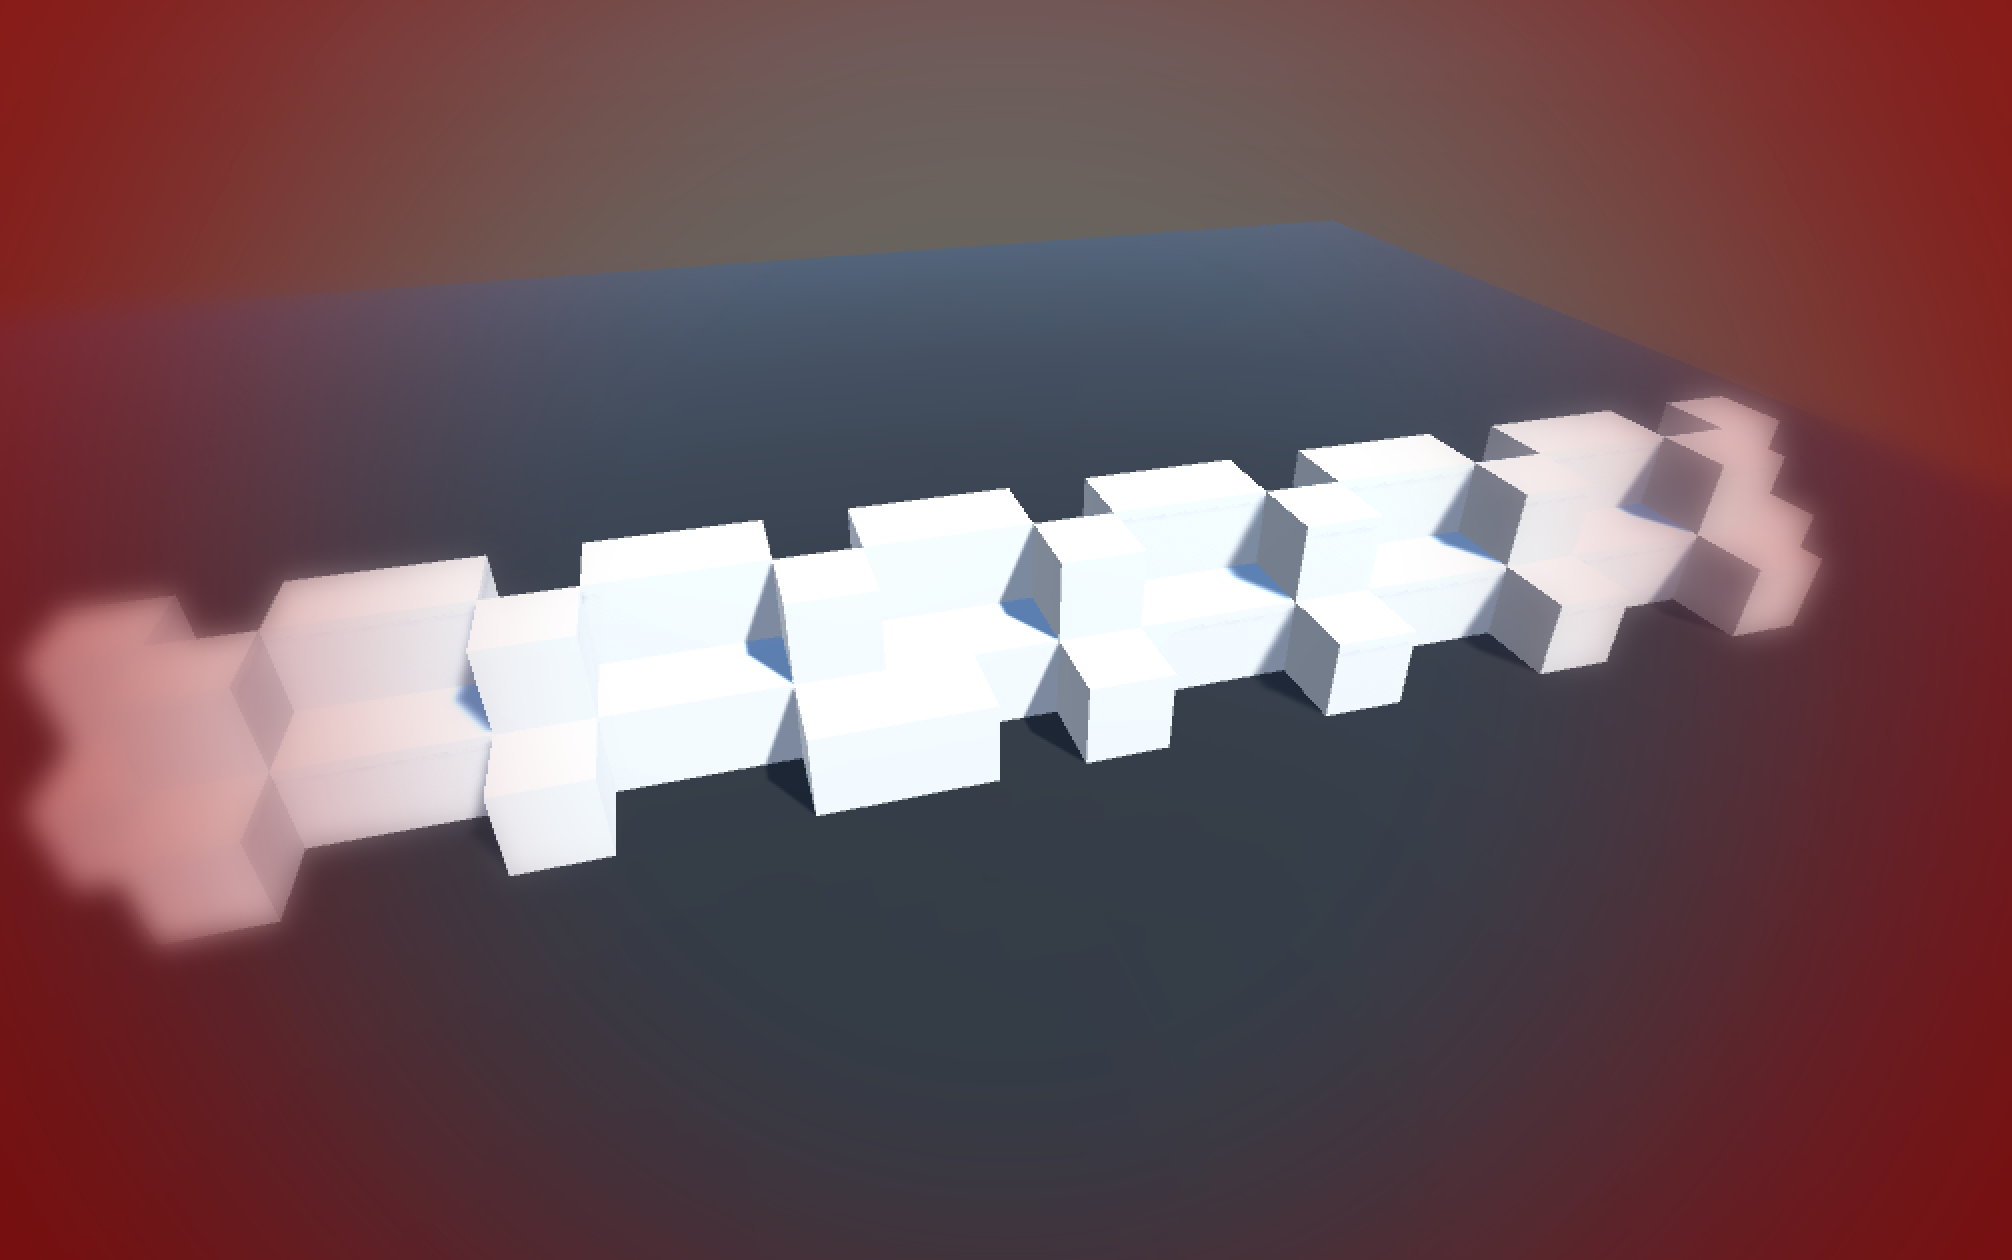
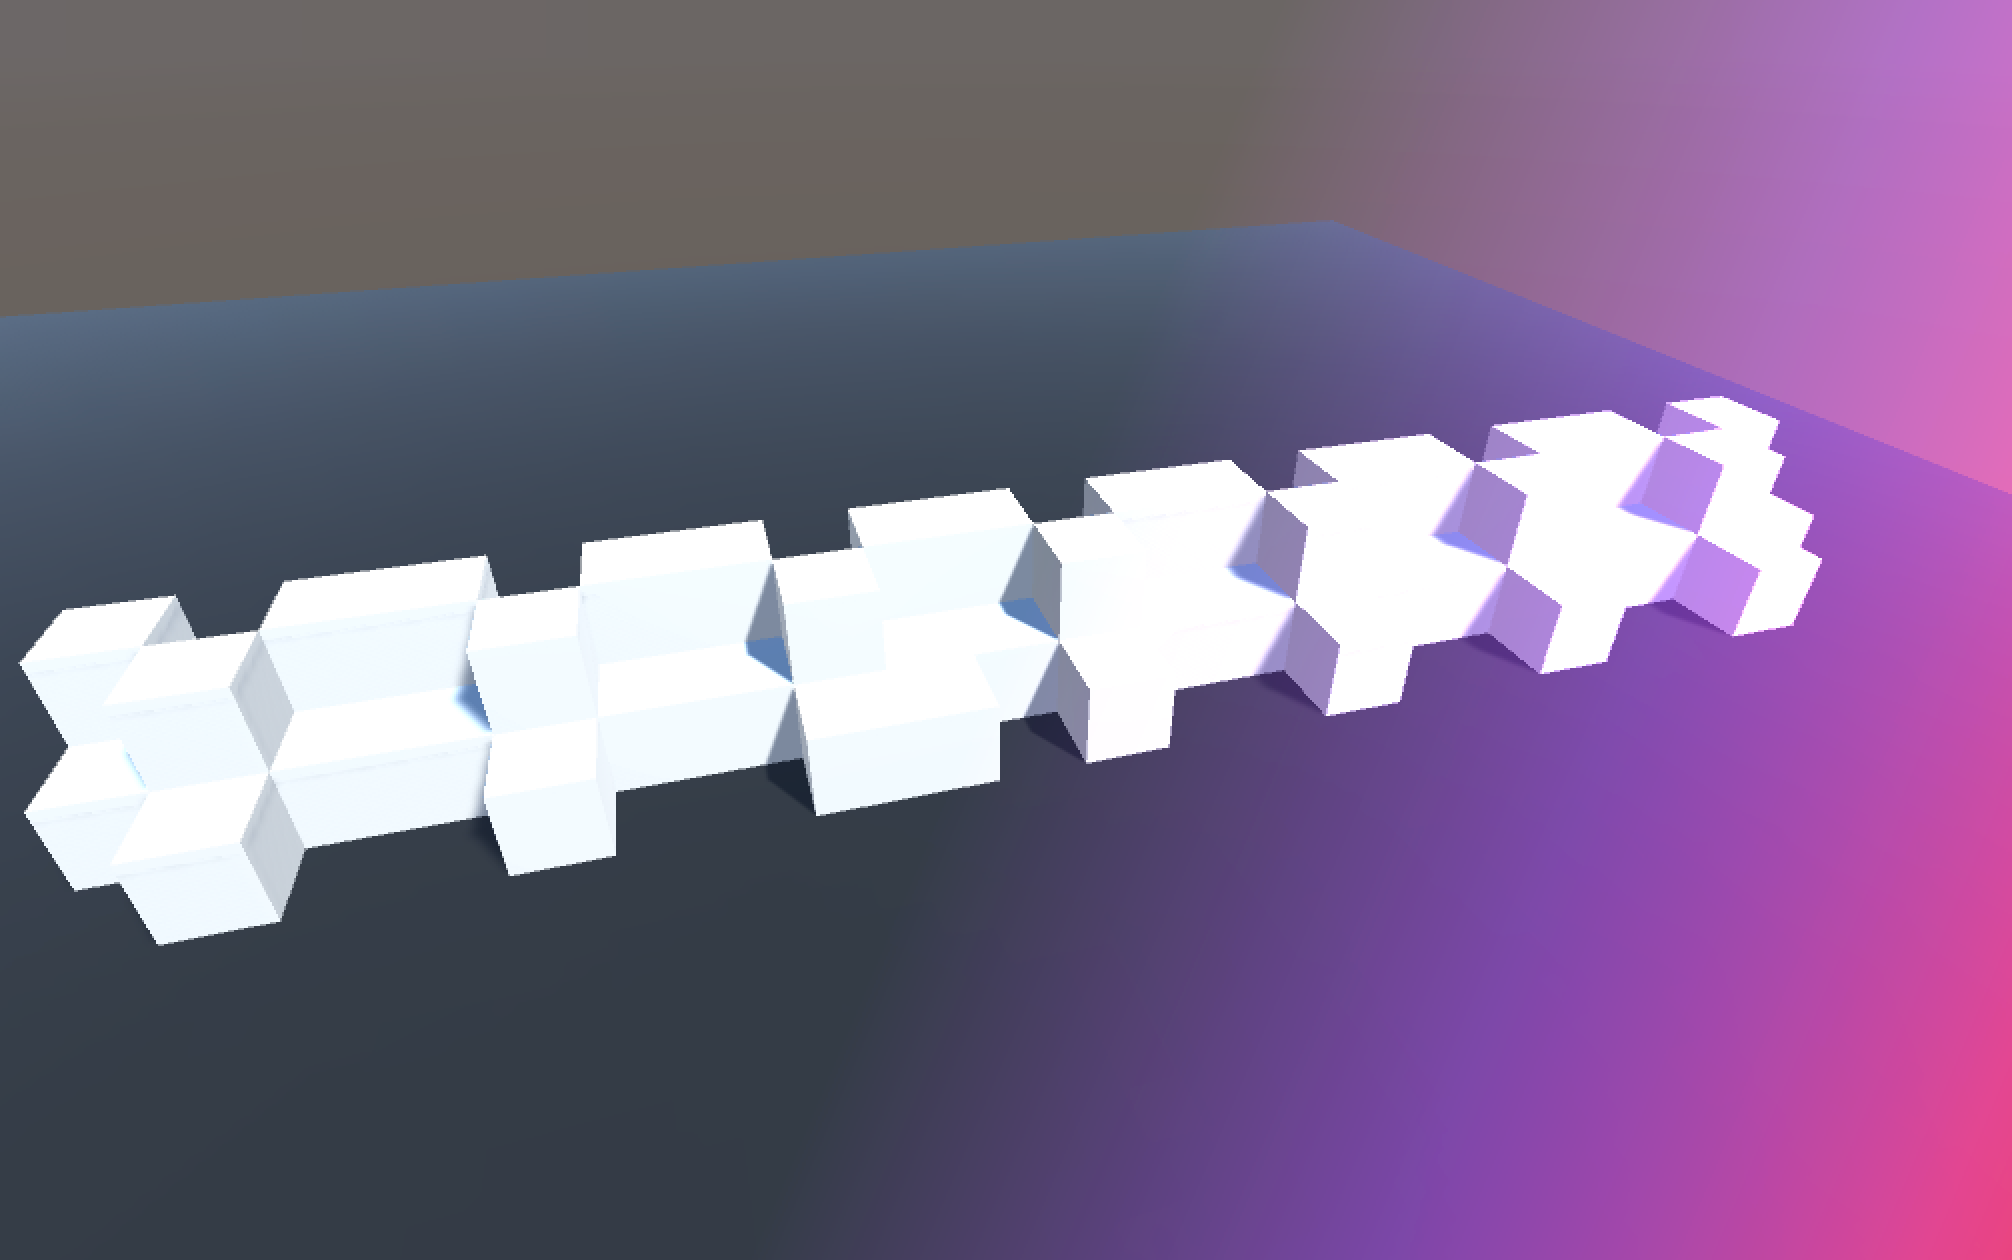
Beffio screen effects*
Vignette and light shaft.
In contract I created some shader assets for use in Unity 3D. These were created according to a list of specific requirements and adjusted to feedback of the employer. The final results were delivered as completed asset packages ready for use in a Unity 3D project.
- Type: Unity assets.
- Team: Solo. (with feedback by Tom Lassota, from Beffio)
- Engine: Unity 3D.
- Main Language: CG with shaderlab and C#.
- Platform: Windows, Mac, Mobile.
Challenges
When creating screen effects in Unity, the process is quite streamlined. Below are a few of of the specific challenges I faced for these projects.
Screen effects
The screen effects are implemented using the OnRenderImage method from the Camera component. By creating an implementation in a component on the camera GameObject, the screen effect shader can be blit onto the camera output. Each shader is composed of different passes and has a few settings to tweak the effect.
Mobile texture
One of the specifications for these shaders is the ability to use the screen effects on mobile by using a prerendered texture. To create this texture during design time, an extra method and shader pass is available. The shader pass will generate the image effect on a transparent background. This allows for overlaying the generated texture with a blending shader pass.
Additionally it is possible to override the currently saved texture with a preset texture. A preset texture can be created by copying an existing texture and reusing it later on in the project.
Editor UI
In order to make the screen effects as easy to use as possible, a custom editor script is in place. It will enable and disable options based on other options. For example the mobile toggle will disable a few settings which are not available for mobile. A button to generate the mobile texture is available as well, with a message giving a visual que if the texture was generated.
The vignette's component UI.
Vignette
The vignette shader is a classic effect where the corners of the image are darkened. Mimicing the effect of old camera lenses on photographs. For this implementation I added a few extra options. The effect can be colorized and the size of the faded corners can be adjusted.
Roundness
The shape of the vignette is traditionally elliptical with an aspect ratio following the aspect ratio of the image. This can easily be calculated by using the UV coordinates and calculating the distance to the center. With the roundness slider there are two effects which can be achieved. If the effect should be more circular, the aspect ratio should be taken in consideration of the distance calculation, as shown in the code snippet below. With the roundness setting it is also possible to make it more square. If the roundness goes below 0, the vignette mask transition into a mask where the distance to the center is calculated separately for the x and the y component. This generates a linear horizontal and vertical gradients instead of an radial gradient.
// All copyright reserved to Beffio.

// Snippet: Calculate two masks, one for squared vignette and one for elliptical/circular vignette.
// If the roundness goes below zero, both are interpolated based on that roundness factor.

// Calculate distance
half2 squareDist = abs(uv - 0.5h);

// Make vignette more circular
if(_roundness > 0)
    squareDist.x *=  1+ (aspectRatio-1) * (_roundness);

// Calculate ellipse vignette
half ellipseDist = length(squareDist);
half ellipseMask = smoothstep(_radiusMin, _radiusMax, ellipseDist);

// Start calculating the vignette mask
half mask = ellipseMask;

// Check if roundness should go to square
if(_roundness < 0)
{
    // Calculate square vignette
    half absRoundness = abs(_roundness);
    half squaredMask = smoothstep(_radiusMin, _radiusMax, squareDist.x);
    squaredMask += smoothstep(_radiusMin, _radiusMax, squareDist.y);

    // Interpolate between round and square vignette based on roundness
    mask = lerp(ellipseMask, squaredMask, absRoundness);
}
mask = saturate(mask);Blur
One of the specifications particular for this shader was blurred corners. So additionally to colorizing the edges and corners, they had to be blurred as well. To achieve blurred corners, an extra blurred image had to be rendered first. This image can then be used in the regular vignette shader and blended with the same mask as the vignette color.
Blending
For this shader, the only blending mode to be implemented is alpha-blending. It smoothly fades the original image into the colored mask.
// All copyright reserved to Beffio.

// Snippet: Alpha-blending using the lerp-function with the mask value as t.
color =  half4(lerp(backgroundColor.xyz, _VignetteColor.xyz, mask), backgroundColor.w);
Light Shaft
Light shaft is the effect where one edge of an image gets affected with a colored lighted. The cause could be a very strong light source which is not visible, but from which the light is still bleeding through on the image. Again I added a few options to change the light shaft. The location can be set through polar coordinates (angle and distance to the center) and the size can be adjusted. As well as some more advanced options described below.
Gradient colors
Working with gradient colors has some support in Unity, most notable the gradient color picker panel. This gradient picker stores it's color and alpha values with there corresponding keys in separate arrays of maximum eight values. Passing through these values to a shader is less supported. That's why I deviced a memory efficient way of passing through these values.
Shader languages are optimized to use float4 values, so passing through float4 values would be optimal as well. Since the alpha component is not used in an opaque color, I decided to store the gradient key value in the alpha channel. In the shader this key value in the alpha channel can then be used to calculate the gradient color. For the alpha values (which can have different key values) I chose to store them in pairs within float4's so each float4 contains 2 key-value pairs. The shader will use these pairs to calculated the gradients transparency.
Gradient shapes
Due to the size a light source can have, one of the specifications was that the shape of the gradient can be radial or linear. Radial gradients are quite easy, since we just have to calculate the distance from the gradients center in order to find the gradients t-value. For linear gradients some extra calculations have to be done, because the rotation angle has to be accounted for as well. First the tangential line should be found for the polar coordinates. Calculating the (perpendicular) distance to that line will give us the gradients t-value.
Blending
For this shader some extra blending modes are implemented as well. So far there are two modes, alpha-blending and additive blending.
- Additive blending will add the original color and the effects color together and clamp them.
// All copyright reserved to Beffio.

// Snippet: Alpha-blending using the lerp-function with the mask value as t.
color = saturate(half4(background.rgb + overlay.rgb * overlay.a, background.a));


